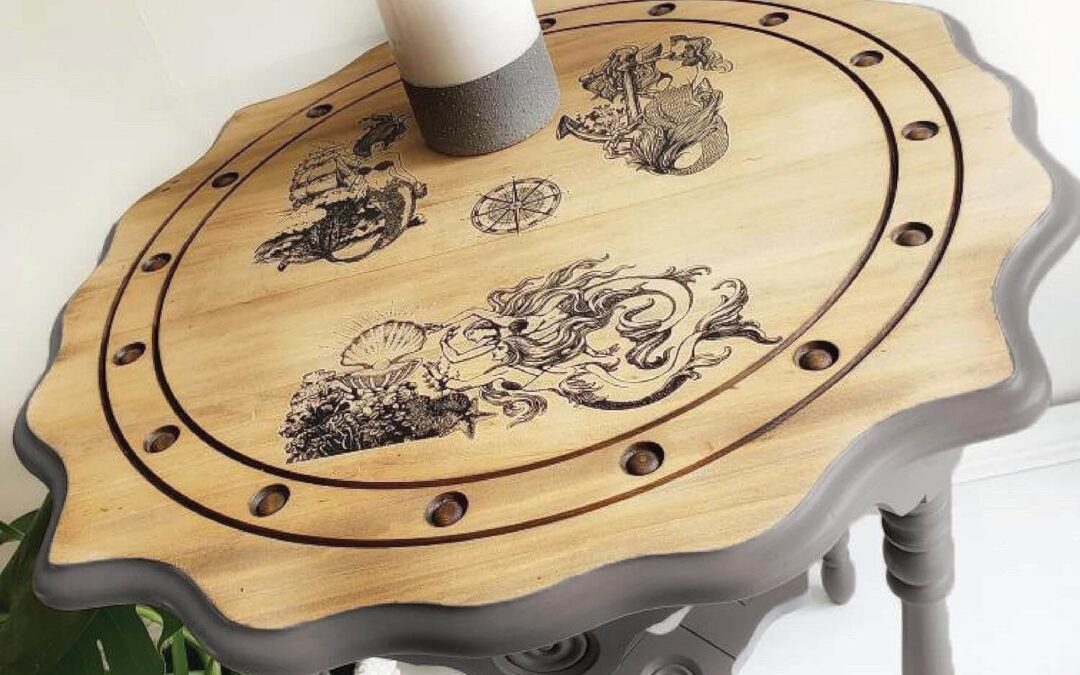
When it comes to interior design, sometimes all it takes is a fresh coat of paint to breathe new life into old furniture. Instead of discarding or replacing worn-out pieces, consider a cost-effective and creative DIY solution to revamp your space. In this guide, we’ll explore the steps to successfully paint old furniture for a modern look while providing tips to ensure a smooth and satisfying project.
Materials and Tools Needed
Before you embark on your furniture-painting journey, gather the following essential materials and tools:
Furniture Piece: Select the item you want to transform. Whether it’s a vintage dresser, an outdated side table, or a tired-looking chair, make sure it’s clean and free of any loose parts.
Sanding Supplies: Sandpaper (various grits, typically 80-220), a sanding block, and/or an electric sander for smoothing surfaces and removing old paint or finishes.
Cleaning Supplies: Mild soap, water, and a clean cloth to clean the furniture thoroughly.
Primer: A high-quality furniture primer to ensure the paint adheres properly.
Paint: Choose your preferred type (latex, chalk, or spray paint) and color of paint. Ensure it’s suitable for furniture and comes in a finish that matches your desired look (e.g., matte, satin, or glossy).
Paintbrushes and Rollers: High-quality brushes and rollers for a smooth application.
Drop Cloths: To protect your workspace and floor from paint splatters.
Painter’s Tape: For masking off areas, you don’t want to paint.
Safety Gear: Gloves, safety goggles, and a mask to protect yourself from dust and fumes.


Step-by-Step Guide
Now, let’s dive into the process of painting old furniture for a modern look:
Step 1: Prepare Your Workspace
Choose a well-ventilated area, preferably outdoors or in a garage. Lay down drop cloths to protect surfaces. Make sure you have good lighting, as it will help you spot imperfections and ensure even paint application.
Step 2: Clean and Sand
Begin by cleaning the furniture thoroughly with soap and water. Allow it to dry completely. Then, use sandpaper or an electric sander to sand the entire surface. This step not only smooths out imperfections but also helps the primer and paint adhere better.
Step 3: Remove Hardware
If your furniture has knobs, handles, or other hardware, remove them before painting. It will make the process easier and ensure a clean finish. If you wish to keep the hardware, you can paint it separately or replace it with new ones later.
Step 4: Apply Primer
Apply a thin, even coat of furniture primer to the entire piece. Primer creates a smooth surface for the paint to adhere to and helps prevent stains or wood grain from bleeding through. Allow the primer to dry completely according to the manufacturer’s instructions.
Step 5: Paint
Once the primer is dry, you can start painting. Apply thin, even coats of paint using your chosen brushes or rollers. Avoid heavy applications, as they can lead to drips and uneven surfaces. Allow each coat to dry before applying the next, and follow the paint manufacturer’s recommended drying times.
Step 6: Sand and Repeat (Optional)
For a professional finish, consider lightly sanding between coats of paint with fine-grit sandpaper. This will help achieve a smooth and flawless surface. Repeat the painting and sanding process until you achieve the desired coverage and finish.
Step 7: Reattach Hardware and Finish
After the final coat has dried, reattach any hardware that you removed. Inspect the piece for any touch-ups needed. If you wish to add a protective finish, consider applying a clear topcoat, such as polyurethane or furniture wax, to seal and protect your newly painted furniture.


Things to Be Careful of
While painting old furniture can be a rewarding project, there are some common pitfalls to avoid:
Rushing: Take your time to prep, paint, and let each coat dry properly. Rushing can lead to a less-than-perfect finish.
Skipping the Primer: Skipping the primer can result in poor paint adhesion and may require more coats of paint to achieve the desired finish.
Overloading with Paint: Apply thin, even coats of paint to prevent drips, streaks, and uneven coverage.
Neglecting Safety: Always wear appropriate safety gear, such as gloves, goggles, and a mask, to protect yourself from dust and fumes.
This post contains affiliate links, which means we may receive a small commission, at no additional cost to you, if you make a purchase through these links.
More Reads