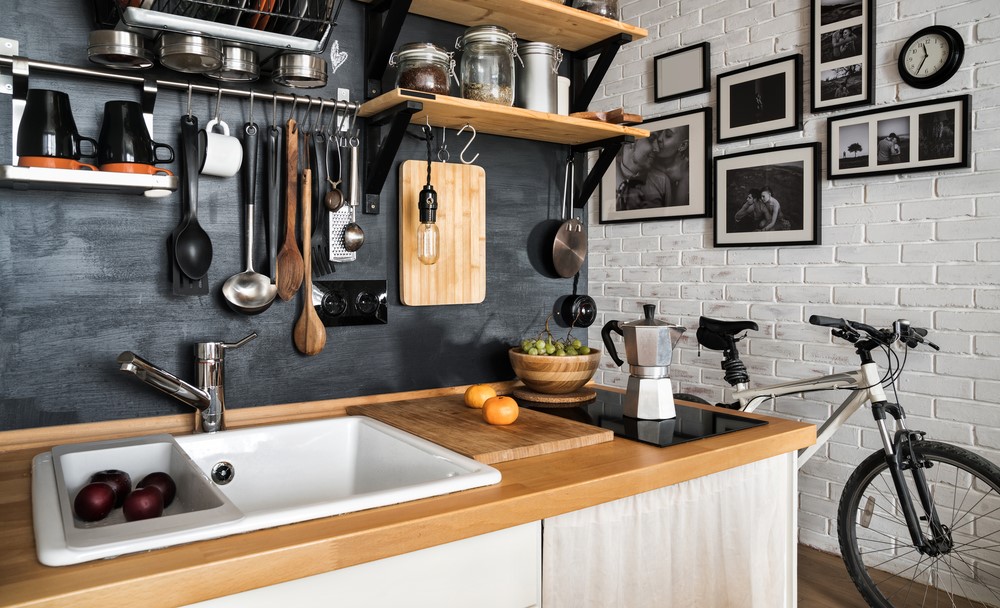
Decorating your home with photographs you or a family member has taken is really rewarding, especially when they are professionally printed and framed.
To get the best results from your professional printers, your images need to be prepared by you to get the highest-quality prints, so it pays to take your time over this and do it right.
A lot of professional print shops are very helpful and will usually answer any questions you may have about getting your images ready, and most have guidelines on their websites, but here are a few basic pointers to make your photos print-ready.
Choosing the Right Photo
Are you having trouble deciding which images to print? You will have to be ruthless and cull any images that are not the very best and most visually appealing. Take your décor into account too – will the room furnishings suit black and white images, or bright, vivid colors?
Only choose the sharpest photos you have, as any blurry images will be magnified in print. The exception to this is if you have deliberately chosen to take a creatively blurred photo, in which case this advice doesn’t count.
Calibrate Your Monitor
If your monitor is not correctly calibrated, your prints may come out looking very different to the image on your computer screen! All monitors differ in how they show colors and brightness, which is why your image might look good on your PC monitor, but if you look at it on your phone or laptop, the colors may seem off, or the shadows too dark and contrasts.
The only way to ensure you get prints that look exactly the same as the image you see on your screen is to calibrate your monitor. There are monitor-calibration devices for sale on Amazon, and many of them are designed to simply plug in and work without any complicated setting up. They are not cheap, but if you are serious about creating prints and photography, they are an invaluable tool.
They test your monitor’s color and brightness levels, and will automatically adjust them so that they give the most accurate representation of your image to send to print.
Image Editing Tips
Image editing software is a must-have if you want to create quality prints. Lightroom and Photoshop are perhaps the most well-known, but they aren’t beginner friendly and the monthly subscription is off-putting unless you will use them a lot. There are many good, competitively priced (and even free) photo editing software alternatives available. They both give professional results and are easy to use, which is important if you’re just starting out with editing software.
Crop your image to get rid of any clutter or distractions at the edge of the image, but don’t crop huge amounts out of the image – if you want to print at a larger size, the cropped image will be of poorer quality.
Enhance the saturation of your image to make the colors more vivid, and adjust the contrast a little to make the difference between darks and lights richer in tone.
Sharpening for print is the last adjustment you should make before saving your image. Some editing programs have options to apply sharpening specifically for print or screen, so you simply choose the option you require. If you are applying sharpening yourself, don’t overdo it. Too little is always better than too much, which is a rule that you should apply to all of your image adjustments.
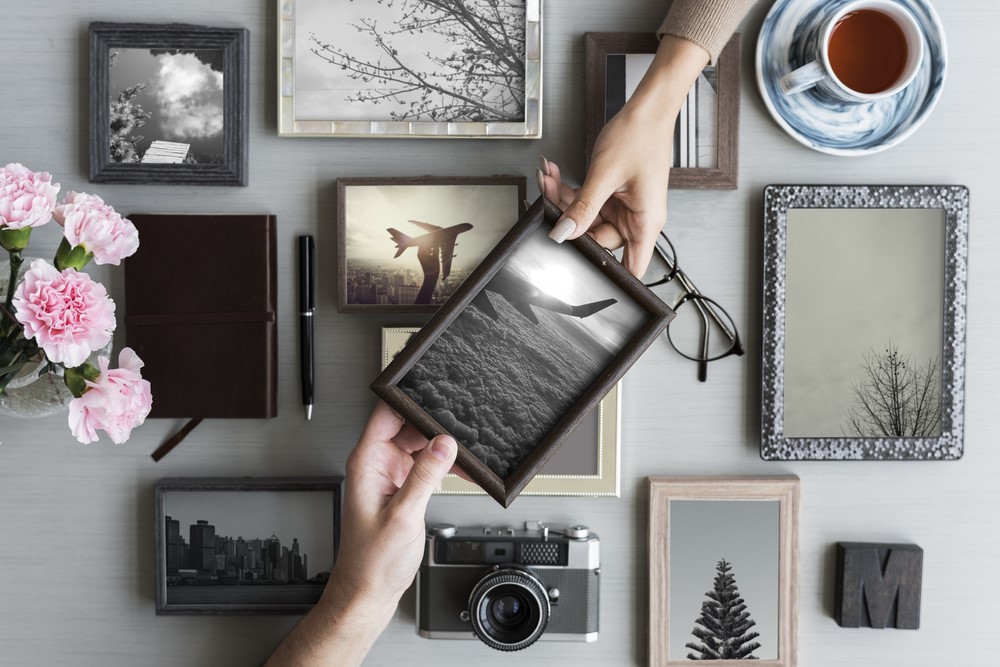
Image Borders
Printed images can either have white or black borders around the image, or be ‘full bleed’, which is when the print goes right up to the edge of the image with no border around it. It depends if you are framing your image or having it as a canvas or photo board as to which one you choose.
For a canvas or photo board, a full-bleed image may be preferable, and if you are intending on framing, a border will probably look better. In your image editing software, there should be a way to create borders around your images, and that’s usually done by changing the canvas size (the image on the screen is called the canvas).
Resolution and Image Size
The best resolution for prints is 300 ppi (Pixels Per Inch) and above. This means that for every inch of print, you will have 300 pixels. Anything less than this will show a lessening of print quality. You can make your printed image larger by upscaling in your image editor, but do so with caution. Too much upscaling on an image results in a poor quality print.
If your image editor has a ‘constrain proportions’ checkbox in the image size dialog, check it. This will stop your image becoming distorted either vertically or horizontally.
Correct Format for Saving Photos
Your printer will have a list of acceptable formats on their website, but a general rule of thumb is to save your images as an 8 or 16-bit TIFF file in your image editor for best print quality. If possible, it is better to shoot in RAW format and convert to TIFF after doing your editing in RAW. Prints can be made from JPEG images, but the image quality just isn’t as good as with a TIFF file.
Professional print shops usually print in CYMK rather than in RGB colour mode, so you can convert the mode yourself using your image editor, or let the print shop change the mode for you.
What Paper or Material to Choose
Most print shops have a huge array of materials your image can be printed on, from metallic paper to birch boards, and it is up to you to choose what finish will suit your home and personality the best.
There are usually samples that you can look at that will give you an accurate idea of the finish and texture of each material. For example, matte paper has no shine to it at all, whereas glossy finish its extremely shiny, and lustre paper is somewhere in between.
The only way to tell which material will be best is to look at all the options before choosing.
Which Professional Printer to Choose
You could go to your local photographic printers, or use an online print service. There are many good online printers, who will print and send your images to you by post or courier, and a lot of professional photographers choose these printers. The best ones are not cheap, but the quality of the print and the material it’s printed on separate them from other online printers.
If you go to a local print shop, you have the advantage of being able to talk to someone in person about your needs, and being able to pick up your precious prints instead of trusting them to a courier or the postal service. Whichever one you choose, make sure they give you all the information you need to know, such as how to prepare your prints and what format to send them in.
Final Thoughts
Having your images printed is a great way to immortalize your best shots. The preparation for printing is one of the most important steps you can take, and I have only touched briefly on it here as a quick guide. There are many excellent in-depth free online tutorials about print preparation, so I would suggest you read through some before starting to adjust your images.